


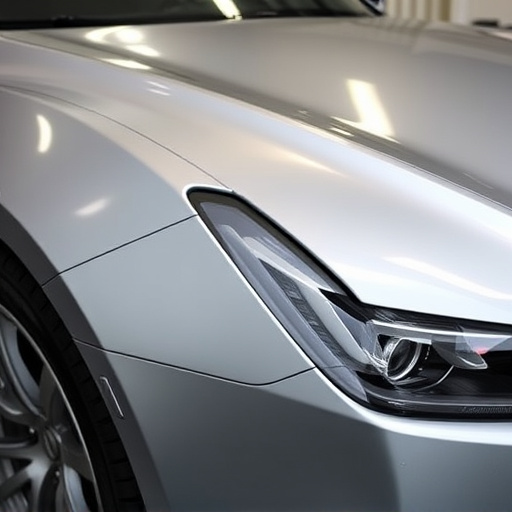

Replacing a panel on a Tesla Model X requires specialized care due to its unique gull wing doors. This process involves workspace preparation, removing and replacing the panel with precise alignment, adjustments for flawless fit, testing, and optional tire services. Professional EV repair shops specializing in Tesla Model X gull wing alignment ensure optimal results, maintaining aesthetics, functionality, and structural integrity.
“Explore the intricate world of Tesla Model X gull wing alignment after panel replacement. This comprehensive guide delves into the unique mechanics of this iconic feature, offering a step-by-step approach for successful repairs. From understanding the complex system to overcoming common challenges, we provide essential tips for professionals and enthusiasts alike. Master the art of aligning your Tesla’s panels and ensure its distinctive gull wing doors operate seamlessly.”
- Understanding Tesla Model X Gull Wing Mechanism
- Step-by-Step Guide for Panel Replacement and Alignment
- Common Challenges and Tips for a Successful Alignment
Understanding Tesla Model X Gull Wing Mechanism

The Tesla Model X’s distinctive gull wing doors are a standout feature, but their intricate mechanism requires special attention during maintenance and repairs. Unlike conventional car doors, these doors pivot upward and outward in a unique scissor-like motion, seamlessly integrating with the vehicle’s sleek design. This innovative system is both a visual marvel and a functional one, ensuring easy access to the vehicle while enhancing safety by providing a wider opening angle compared to traditional doors.
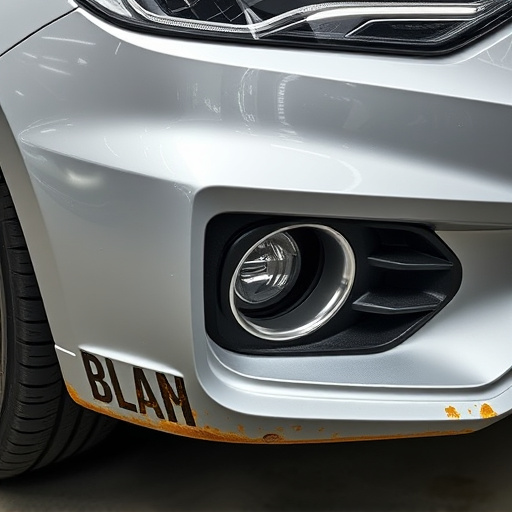
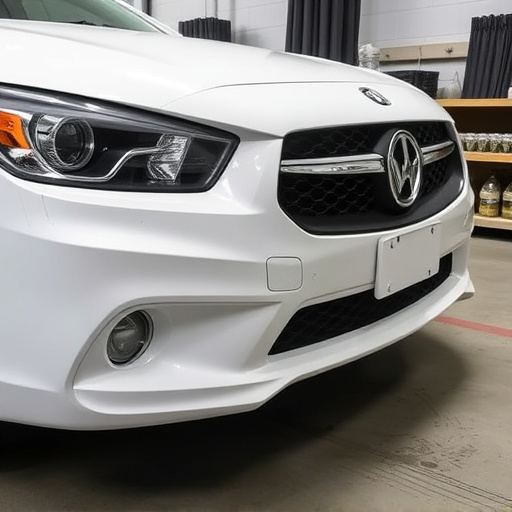
When it comes to replacing a panel or conducting auto glass repair on a Tesla Model X, understanding this gull wing mechanism is crucial. Any misalignment could disrupt the door’s smooth operation and compromise its structural integrity. Professional car body shops specializing in electric vehicle repairs are equipped to handle such precision work, ensuring that replacement panels fit seamlessly with the existing design, be it for a damaged door or a simple upgrade to enhance aesthetics or functionality through car paint services.
Step-by-Step Guide for Panel Replacement and Alignment
Replacing a panel on your Tesla Model X involves careful steps to ensure proper alignment, preserving the unique gull wing design. Here’s a step-by-step guide for this process:
1. Prepare Your Workspace: Park your vehicle securely and ensure ample space around it for ease of work. Gather all necessary tools including jack stands, a new panel, and any required hardware. Protect the surrounding areas with drop cloths to prevent damage from debris.
2. Lift and Secure the Vehicle: Use a car lift or jack stands to safely raise and support the Tesla Model X. Ensure stability before proceeding. Remove the wheel if needed for better access to the panel. This step is crucial for achieving precise alignment during installation.
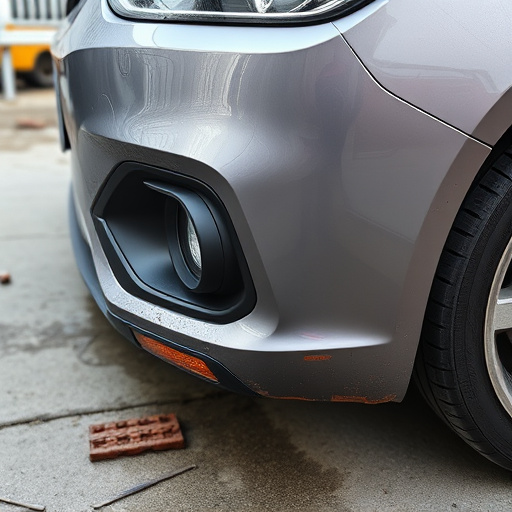
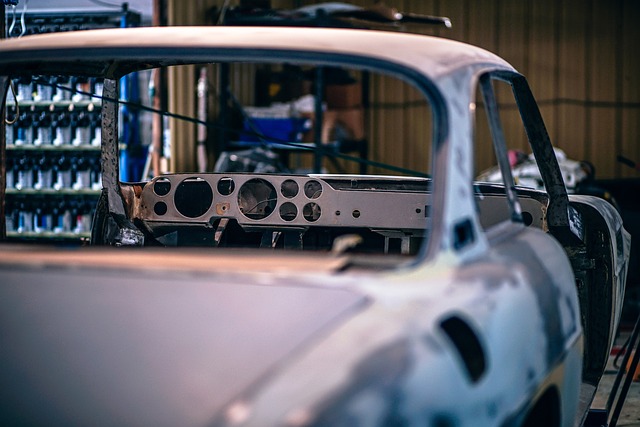
3. Remove the Old Panel: Employ suitable tools to carefully take off the damaged or old panel. Note any existing alignment markers on the car body, which will guide your replacement. Understanding auto body restoration techniques here can aid in preserving the vehicle’s original look.
4. Install the New Panel: Position the new panel accurately, aligning it with the surrounding panels and using the original markers as a guide. Fasten the panel securely following Tesla’s recommended procedures, ensuring no gaps or misalignments. This step demands precision to maintain the car’s aesthetic appeal.
5. Realign and Adjust: After installation, check the new panel’s alignment against the vehicle’s body using measuring tools. Adjust as necessary until perfect alignment is achieved. This meticulous process ensures not just visual harmony but also structural integrity.
6. Test and Lower the Vehicle: Once satisfied with the alignment, test the functionality of all related components, like doors and hinges. After confirming their proper operation, lower the vehicle safely and remove the supporting equipment.
7. Finishing Touches and Tire Services: Following panel replacement, consider tire services if needed to ensure optimal handling and safety. This completes the process, leaving your Tesla Model X looking like new while preserving its distinctive gull wing alignment.
Common Challenges and Tips for a Successful Alignment
When attempting Tesla Model X gull wing alignment following panel replacement, several common challenges can arise. One of the primary hurdles is achieving precise measurements and adjustments due to the vehicle’s complex design and mechanical components. Moreover, the unique hinges and mechanisms of the gull wing doors require meticulous care to ensure proper alignment and smooth operation.
To overcome these challenges, consider a few tips for a successful alignment process. First, consult the vehicle’s detailed service manual for specific guidelines tailored to your Model X. Next, use high-quality tools designed for accurate measurements, such as specialized aligner tools. Additionally, if you’re not experienced with such repairs, it’s advisable to seek assistance from a reputable collision repair shop specializing in electric vehicle (EV) repairs, including bumper repair and panel replacement. They can provide expert advice and ensure the job is done correctly, preventing further damage or misalignment issues.
The intricate process of Tesla Model X gull wing alignment, following panel replacement, requires meticulous attention to detail. By understanding the unique mechanism and armed with the right tools and knowledge, owners can successfully navigate this task, ensuring a seamless fit and flawless operation. Through our step-by-step guide and insightful tips, we’ve empowered you to tackle this challenge head-on. Remember, proper alignment is key to maintaining the iconic design and functionality of your Tesla Model X.